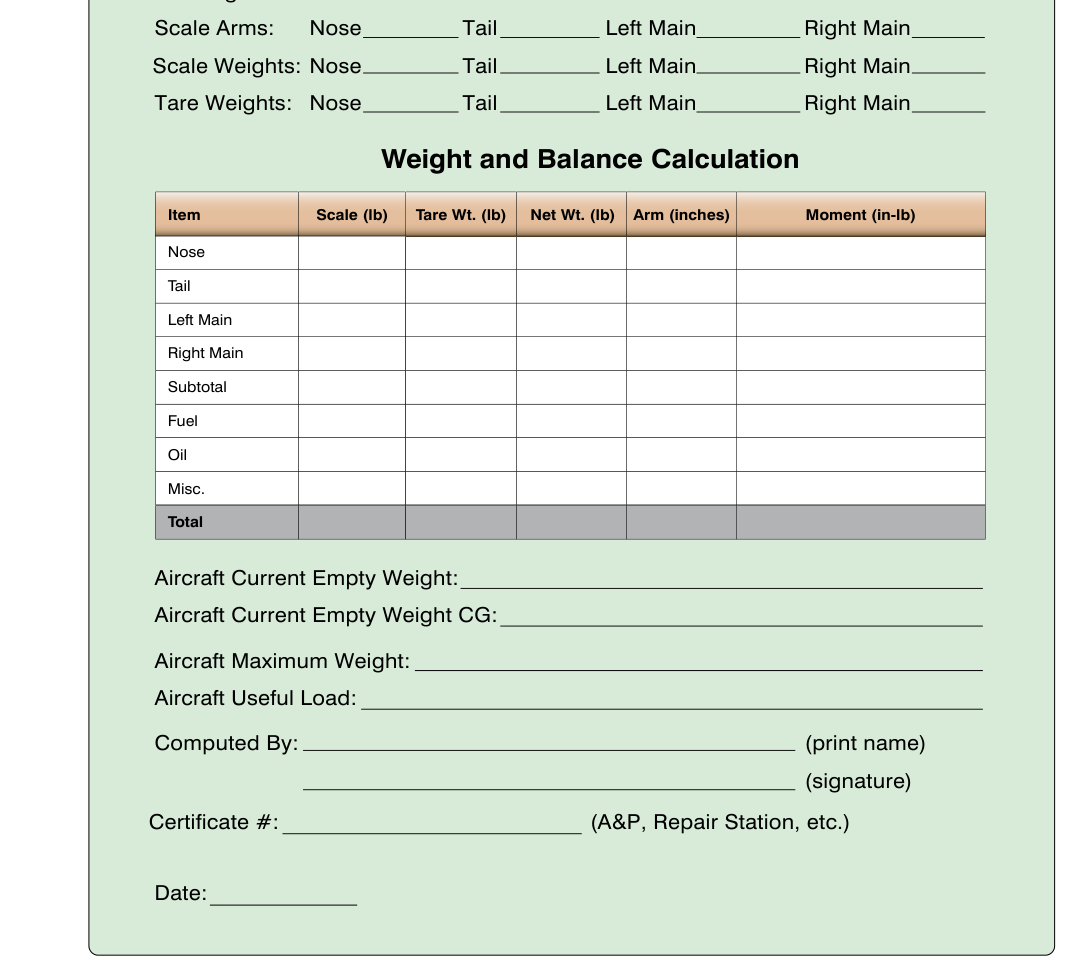
Before a technician can record a single scale reading or calculate a center of gravity (CG) location, the aircraft must be sitting perfectly level. Weight and balance is one of the most safety-critical tasks in aircraft maintenance, and the entire mathematical framework behind it assumes that each scale is measuring a true vertical load. If the aircraft is nose-high, nose-low, or tilted wing-to-wing, the weight distribution shifts between the weighing points, the measured loads change, and the calculated CG ends up in the wrong place. A CG error that goes undetected can make an aircraft uncontrollable in flight — making proper leveling not a bureaucratic formality but a genuine airworthiness issue.
This article covers exactly how to level an aircraft for weight and balance, what tools and references are involved, why the geometry matters, and what the FAA knowledge test expects you to know.
Why Leveling Affects the Numbers
The mathematical model for weight and balance treats each weighing point as a vertical force acting downward at a specific horizontal distance — the arm — from a reference datum. The moment at each point equals the load multiplied by the arm, and the CG equals the total moment divided by the total weight. Every part of that calculation assumes gravity is acting straight down relative to the aircraft's own longitudinal and lateral axes.
When an aircraft is tilted, two things go wrong simultaneously. First, the actual load on each scale changes: a nose-down attitude shifts weight forward onto the nose gear scale and off the main gear scales. Second, the effective arm of each component relative to the datum changes because the horizontal distances have shifted along with the tilt. These two errors compound each other. The exact magnitude of CG shift caused by a given tilt angle depends on the aircraft's specific dimensions and cannot be generalized across all aircraft — but on some aircraft, even a small tilt can be enough to place the calculated CG outside the allowable envelope.
Proper leveling eliminates both sources of error in a single step, which is why every manufacturer's Weight and Balance data sheet specifies a leveling method and why the FAA Weight and Balance Handbook (FAA-H-8083-1) treats leveling as a prerequisite to any measurement.
Finding the Leveling Reference
Every type-certificated aircraft has an approved leveling method described in one of three places: the aircraft's Type Certificate Data Sheet (TCDS), the manufacturer's maintenance or weight and balance manual, or a combination of both. The technician must use the reference specified for that specific make and model — never a generic approach.
Common leveling references include:
- Leveling lugs or plates: Small machined fittings, often on the fuselage skin, firewall, or structural bulkheads, designed to accept a spirit level directly. The technician places the level on or between the lugs and adjusts the aircraft until the bubble is centered.
- A specified structural surface: Some manufacturers call out a flat structural member — a door sill, spar flange, or fuselage longeron — that is machined or shimmed to be parallel to the aircraft's waterline. A precision machinist's level or digital level is placed on this surface.
- A plumb bob or plumb line: Certain aircraft specify dropping a plumb line from a defined overhead point (such as a specific rivet or fitting) to a corresponding floor mark. When the line bisects the floor target, the aircraft is level both longitudinally and laterally.
- An inclinometer or digital level: More modern aircraft may reference an electronic leveling instrument or built-in inclinometer, with specific degree or arc-minute tolerances given in the manual.
The technician must confirm both longitudinal level (nose-to-tail) and lateral level (wing-to-wing). Most aircraft require both axes to be confirmed, and some high-wing or low-wing designs are more sensitive to lateral tilt than to longitudinal tilt because of the wide span between the main gear weighing points.
Setting Up the Work Area
Leveling begins before the scales are ever placed under the aircraft. The hangar floor itself must be evaluated. A floor that slopes or has cracks and high spots will make it extremely difficult to achieve and hold a level attitude. The FAA Weight and Balance Handbook recommends performing weight and balance in a closed hangar to eliminate wind effects — even a modest crosswind pushing against the fuselage or control surfaces can shift scale readings by several pounds on a light aircraft and significantly more on larger ones.
Scales must be zeroed (tared) before use. If wheel chocks, ramps, or adapter plates are used to get the scales under the gear, those items must either be accounted for in the tare weight or zeroed out. Most modern platform scales allow the technician to zero the display with the adapter plate in place so the reading reflects only the aircraft's load.
The aircraft should be in the weighing configuration specified by the manufacturer before leveling begins: fuel drained or at a specified level, all required equipment installed, all ballast in place or removed per the applicable weight and balance record, and control surfaces in the position called out in the manual (usually neutral or secured). Changing the aircraft's configuration after leveling — for example, opening a large cargo door — can shift weight enough to disturb the level attitude.
The Leveling Procedure Step by Step
- Obtain the correct reference documentation. Pull the TCDS or manufacturer's manual and identify the exact leveling point(s) for the aircraft type.
- Position scales and ramps. Place calibrated scales under each weighing point. Use ramps if necessary to get the aircraft onto the scales without a significant attitude change.
- Tare the scales. Zero each scale with all adapters, pads, or chocks in place.
- Check the longitudinal axis first. Place the level or check the plumb line fore-and-aft. Adjust nose gear height (or add pads under main gear) as needed to bring the longitudinal axis to level.
- Check the lateral axis. With longitudinal level confirmed, check wing-to-wing level. Adjust left or right main gear height as needed. Note that adjusting one main gear will often affect the longitudinal reading slightly, so recheck longitudinal level after each lateral adjustment.
- Confirm both axes simultaneously. Some technicians use two spirit levels at once — one longitudinal, one lateral — to confirm both before recording readings.
- Record scale readings immediately. Once level is confirmed and stable, record all scale readings. Do not move the aircraft or allow anyone to push on it during recording.
Key Numbers and Rules
- Leveling instructions are aircraft-specific and must come from the TCDS or manufacturer's manual — not estimated by the technician.
- All scales must be calibrated to a standard traceable to the National Institute of Standards and Technology (NIST) and within the calibration interval specified by the shop or manufacturer.
- The hangar environment should be closed and wind-free to prevent aerodynamic loads from affecting scale readings.
- Both longitudinal and lateral level must be confirmed before readings are recorded.
- Tare weight — scales, ramps, adapters — must be subtracted from or zeroed out of each scale reading before it is entered into the weight and balance calculation.
- If the aircraft cannot be leveled on its own gear (for example, a flat main gear tire), that discrepancy must be corrected before weighing, not compensated for mathematically.
Common Test Traps
- Assuming one axis is enough. FAA test questions often describe a scenario where only longitudinal level is confirmed. The correct answer always requires both longitudinal and lateral leveling before recording readings.
- Forgetting tare weight. A question may give scale readings with adapter plates installed but not tared. The student must subtract the tare from each reading before computing weight and balance.
- Using the wrong reference. Some questions imply that a technician can estimate or assume a leveling point. The FAA answer is always that leveling references come from the TCDS or manufacturer's approved data.
- Weighing with fuel in an unspecified state. Weight and balance procedures specify a particular fuel condition for weighing — this may mean full fuel, fuel drained to unusable, or another specified quantity, depending on the manufacturer's data. A question may describe an aircraft weighed with fuel in a state that does not match the applicable manual; the student must recognize this violates standard procedure unless the manual specifically allows it and the weight is appropriately accounted for.
- Ignoring wind and hangar environment. Test questions sometimes describe outdoor weighing on a windy day as acceptable. The FAA recommendation is to weigh in a closed building to eliminate wind effects, since gusts or convective air movement can introduce uncertainty into scale readings.
Leveling an aircraft correctly is one of those foundational skills that separates a careful, airworthiness-minded technician from one who simply goes through the motions. The few extra minutes spent confirming level in both axes, taring the scales properly, and working from the manufacturer's approved reference can mean the difference between an accurate weight and balance record and one that hides a dangerous CG error. Every subsequent calculation in the weight and balance process depends entirely on the quality of this first step.