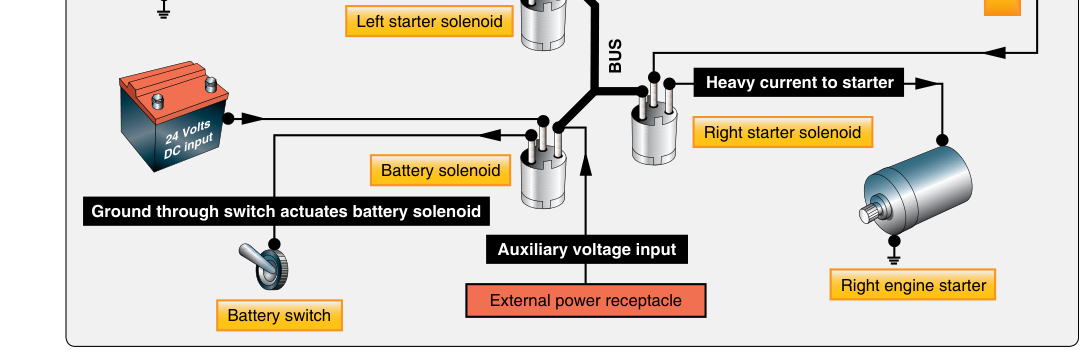
On a warm summer day, a light trainer's engine usually fires up quickly after just a few strokes of the primer. But drop the outside air temperature into the 30s or below, and fuel that should vaporize into a combustible mixture instead behaves like a stubborn liquid — pooling rather than atomizing, refusing to ignite. That is exactly the problem the engine primer system is designed to solve. By injecting atomized fuel directly into the intake system, the primer gives the engine the fuel charge it needs to fire on the very first compression strokes, even when everything is cold and the carburetor alone cannot do the job.
Understanding how the primer works, when to use it, how many strokes to apply, and what mistakes to avoid is both a practical skill for every preflight and a topic the FAA Knowledge Test probes regularly. More importantly, improper priming can contribute to flooding and induction fires during start, so the stakes go beyond the exam.
How the Primer System Works
The primer is a small, manually operated pump — usually a cylindrical plunger mounted on the instrument panel — that draws fuel from a source specified by the aircraft's fuel system design (check the POH/AFM for the specific arrangement on your aircraft), bypasses the carburetor entirely, and injects it through small nozzles into the intake manifold or directly into individual cylinders. When you pull the plunger outward, fuel is drawn into the primer body. When you push it inward, that fuel is forced through the primer lines as a fine spray into the intake system, where it mixes with air drawn in by piston suction.
This is fundamentally different from what a carburetor does during normal operation. The carburetor relies on airflow through a venturi to atomize fuel — but with a cold, stationary engine, there is no airflow. The carburetor float bowl may also contain fuel that is too cold to vaporize properly. The primer skips all of that complexity and puts fuel exactly where combustion needs to start.
Where the Fuel Goes
On most simple single-engine trainers, the primer nozzles open into the intake manifold near the intake ports of one or more cylinders. Some designs route primer fuel directly into specific cylinder intake ports. Either way, the result is the same: a locally rich mixture in the intake passages where the pistons can draw it in on their first intake strokes during cranking. Once those initial cylinders fire and engine RPM and airflow increase, the carburetor is able to take over normal fuel metering for continued operation.
Cold-Weather Starting Procedure
The exact number of primer strokes you should use depends on outside air temperature (OAT) and the specific aircraft. Always follow the Pilot's Operating Handbook (POH) or Airplane Flight Manual (AFM) for your aircraft — these are the authoritative documents. That said, the general pattern recognized across training aircraft is:
- Warm engine (recently operated): Little or no priming may be needed. The engine is already warm and residual fuel vapor is present.
- Cool conditions (around 50–60 °F): Typically 1–2 strokes of the primer.
- Cold conditions (below freezing): Often 3–4 strokes or more, as specified by the POH.
- Very cold conditions: Some POHs call for additional strokes and may also recommend pre-heating the engine before starting.
The critical discipline is to lock the primer after use. The plunger-style primer has a locking collar or a twist-and-push mechanism. If you leave the primer unlocked, fuel can continue to dribble into the intake during engine operation, causing an excessively rich mixture, rough running, and potentially a flooded engine or fire. Always push the primer in fully and rotate to lock before cranking.
Flooded Engine and How to Clear It
Over-priming — or pumping the throttle excessively on aircraft with a carburetor accelerator pump — can flood the engine. A flooded engine has too much raw liquid fuel in the intake system, which will not ignite efficiently and can pool in the cylinders, risking hydraulic lock and potential engine damage if the liquid is severe enough.
The standard procedure for starting a flooded engine, as described in most POHs, is:
- Set the throttle to full open (or as specified by the POH).
- Set the mixture to idle cutoff.
- Crank the engine to blow excess fuel out of the intake system through the open throttle.
- Once the raw fuel has been purged, return the mixture to rich and attempt a normal start.
An important safety note: raw fuel blown from a flooded engine can accumulate around the cowling and on the ramp below the aircraft. If the engine then backfires during the clearing attempt, this pooled fuel can ignite. Always have a fire extinguisher within reach and a ground crew member or alert observer nearby during any starting attempt, especially in cold weather when extra priming is common.
Engine Fire During Start
An induction fire (sometimes called an intake fire) can occur when excess fuel in the intake manifold ignites, often during or just after cranking. You may see flames coming from the air intake opening. The recommended procedure in most POHs is counterintuitive: keep cranking the engine. If the engine starts, the airflow created by the running engine will pull the flames back into the manifold and extinguish them. If the engine does not start quickly, shut off the fuel, shut off the ignition, and use a fire extinguisher — then notify maintenance before any further flight operations. Again, defer to your specific POH for this procedure.
Why This Matters for Safety and Airworthiness
The primer system is part of the fuel system and must be checked during preflight. During the cockpit preflight check, confirm the primer is locked and the plunger moves smoothly without sticking. A stuck or leaking primer could mean uncontrolled fuel injection during flight, contributing to a rich mixture that is hard to diagnose in the air.
In very cold weather, even proper priming may not be enough if engine oil has congealed or if key system temperatures are too low. FAA guidance and engine manufacturer service instructions (such as those from Lycoming and Continental) commonly recommend pre-heating engines when temperatures fall into the 10 °F to 20 °F range, though the exact threshold varies by engine manufacturer and model, and many operators pre-heat at temperatures well above this range. Cold oil does not circulate properly, meaning internal engine surfaces go without lubrication for the critical first seconds of operation — this causes far more wear per start than hours of normal operation. Cold starts without adequate oil flow can cause significant accelerated wear. A proper pre-heat brings the oil, cylinders, and accessories to a temperature where lubrication works before the starter is engaged.
Key Numbers and Rules
- Lock the primer: Always after priming — an unlocked primer is a direct line for unmetered fuel into the engine during flight.
- POH authority: Number of primer strokes is aircraft-specific. The POH numbers are required knowledge for each aircraft you fly.
- Pre-heat threshold: Engine manufacturer guidance often begins in the 10–20 °F range, but best practice begins well above that for minimizing wear.
- Flooded start: Full throttle, idle cutoff mixture, crank to clear — then retry normally.
- Induction fire: Keep cranking to pull flames back in; if unsuccessful, shut down fuel and ignition, use extinguisher.
- Primer check on preflight: Confirm plunger locks, no fuel odor suggesting a leak, and smooth operation.
Memory Aid
P-L-A-N for cold-weather starting: Prime per POH (correct number of strokes for the temperature), Lock the primer (rotate and secure the plunger before cranking), Attend to flooding (be ready with the clearing procedure), Notify someone nearby (have a spotter and extinguisher ready). While not an official FAA mnemonic, PLAN captures the four most-tested and safety-critical elements of the primer starting sequence in a format easy to recall during a preflight briefing.
Common Test Traps
- Forgetting to lock the primer: The FAA Knowledge Test and practical test standards both emphasize that an unlocked primer causes a continuous rich mixture. Many students know to prime but forget to verify the locked position. Expect a question or scenario about rough-running engines traced to an unlocked primer.
- Over-priming vs. under-priming: The test may present a scenario where the student must identify a flooded engine (difficult cranking, fuel smell, no start) versus a lean, under-primed engine (cranks normally but does not fire). Knowing which direction to go — more mixture or less — is the tested skill.
- Confusing the primer with the accelerator pump: The primer is a separate, pilot-operated pump. The accelerator pump in a carburetor is automatic and activated by advancing the throttle. Pumping the throttle does NOT do what the primer does — it activates a different mechanism and can contribute to flooding if overused. The FAA tests whether students know the difference.
- Induction fire response: Students often panic and immediately shut down. The correct first response is to continue cranking to draw the fire in — shutting down is the backup if that fails.
- Assuming no priming needed on a warm day: A warm ambient temperature does not automatically mean a warm engine if the aircraft has been sitting overnight in a hangar that was still cold. Always check actual engine temperature (touch the cowling carefully, check any installed CHT, or use elapsed time since last operation) rather than assuming.