Trim tabs are among the most frequently adjusted components in airframe maintenance, yet their rigging is also one of the most commonly misunderstood. A trim tab is a small, hinged surface attached to the trailing edge of a primary flight control — most often the elevator, but also the rudder and ailerons on many aircraft. Its sole purpose is to generate an aerodynamic force that counters the hinge moment of the primary control surface, effectively reducing or eliminating the steady stick or pedal force the pilot must apply to maintain a desired attitude. When a trim tab is rigged incorrectly, the pilot notices immediately — the aircraft may require constant pressure to maintain level flight, or worse, the control system may bind or reach its travel limits unexpectedly.
For airframe mechanics, understanding trim tab rigging means understanding the relationship between the tab, the primary control surface, the cockpit trim control, and the aircraft's flight envelope. This article walks through the theory, practical adjustment procedures, the key specifications you must reference, and the common mistakes that appear on the AMT knowledge test.
How Trim Tabs Work Aerodynamically
To appreciate why rigging matters, you must first understand what a trim tab does in the airstream. When the trim tab deflects downward relative to the primary control surface, the airstream strikes the tab and forces it — and the trailing edge of the primary surface to which it is attached — upward. This is the fundamental principle: the trim tab deflects opposite in direction to the desired primary surface movement. If the pilot needs the elevator to deflect up (nose-up pitch), the trim tab is deflected down relative to the elevator. The aerodynamic load on the tab creates a moment that holds the elevator up without pilot input on the control column.
This inverse relationship is critical to rigging. When you inspect or adjust a trim tab, you must always verify the direction of tab travel relative to cockpit trim wheel or switch input. Most aircraft designs specify that moving the trim wheel or control in the nose-up direction causes the elevator trailing edge to move up and the trim tab to move down relative to the elevator surface. Reversing this relationship — a common wiring or linkage error — makes the trim system fight the primary control rather than assist it, a serious and potentially fatal hazard.
Types of Trim Tab Systems
Before performing any rigging, the mechanic must identify which type of trim tab system is installed, because each type has different rigging considerations.
- Fixed trim tabs: Bent metal tabs riveted to the trailing edge of a control surface. These are adjusted on the ground by bending and are not pilot-adjustable in flight. They are set during rigging to remove known steady-state out-of-trim conditions and are common on ailerons and rudders of light aircraft.
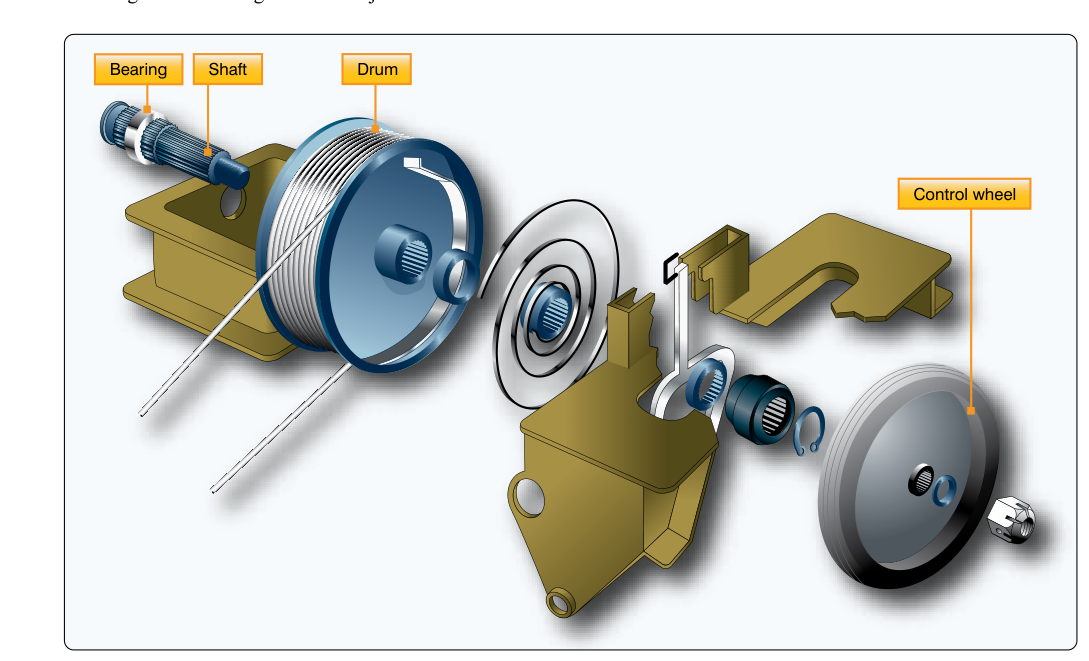
- Adjustable trim tabs (manually operated): The most common type on single-engine training aircraft. A mechanical linkage — typically a pushrod or cable connected to a trim wheel or crank in the cockpit — moves the tab through a defined arc. The tab pivots on its own hinge, which is attached to the primary control surface's trailing edge.
- Electrically operated trim tabs: An electric actuator (usually a reversible DC motor driving a jackscrew) replaces the manual linkage. Rigging these systems also involves verifying the electrical direction of operation matches the placard and cockpit indication, and confirming travel limits via limit switches or mechanical stops.
Rigging Procedures Step by Step
The authoritative source for any specific trim tab rigging job is always the aircraft manufacturer's maintenance manual. No general procedure supersedes those instructions. That said, the FAA's Aviation Maintenance Handbook — Airframe (FAA-H-8083-31) describes the standard approach that underlies most manufacturer procedures, and it is the basis for what follows.
Step 1 — Establish the Neutral Reference
Before any measurement of tab travel, the primary control surface must be placed at its neutral (streamlined) position. On most aircraft this means the elevator is aligned with the horizontal stabilizer chord line, the rudder is aligned with the vertical fin, and the ailerons are in trail. Many manufacturers provide specific alignment fixtures, protractors, or incidence boards for this purpose. Do not assume visual alignment is adequate — use the tools and references the maintenance manual specifies. Lock or support the primary surface at neutral before measuring tab position.
Step 2 — Establish the Tab Neutral Position
With the primary surface at neutral, the trim tab should also be at its specified neutral position. This is usually defined as flush with the primary surface (zero deflection), though some aircraft specify a slight built-in offset to compensate for known aerodynamic asymmetries. Measure tab deflection using a protractor or rigging board referenced to the primary surface, not to the horizon. The maintenance manual will state the allowable tolerance — often ±1° or less for precision rigging.
Step 3 — Verify and Adjust Total Travel
Operate the cockpit trim control through its full range — from the full nose-up limit to the full nose-down limit (for elevator trim) — while measuring tab deflection at each extreme. Compare measured values to the manufacturer's travel limits. Adjustment is made at the trim tab pushrod or turnbuckle: lengthening or shortening the linkage shifts both the neutral position and the travel range. If the linkage has a clevis or turnbuckle, adjust in small increments, recheck neutral, and then recheck both travel limits.
On electrically operated systems, travel limits are usually set by adjusting the position of the limit switches or the mechanical stop on the actuator jackscrew. Always confirm that the actuator reaches its mechanical stop before the cockpit indicator reaches its limit mark — the mechanical stop is the primary travel limit, not the indicator.
Step 4 — Verify Direction of Travel
This is the most safety-critical check. With the cockpit trim control, input a nose-up trim command. Verify that the elevator trailing edge rises (or would rise in flight) and that the trim tab deflects downward relative to the elevator. Input nose-down trim and confirm the tab deflects upward relative to the elevator. Document your findings. Any reversal requires immediate correction before returning the aircraft to service.
Step 5 — Check for Binding and Full Freedom of Movement
Operate the system through its full travel several times. There must be no binding, chafing, or unusual friction at any point. Inspect all hinges, hinge brackets, and the tab-to-surface attach points for security and freedom of movement. Excessive play (looseness) at hinge points is also a defect — most manufacturers specify a maximum hinge pin free play, typically measured in thousandths of an inch.
Step 6 — Safety and Documentation
After adjustment, safety all turnbuckles per AC 43.13-1B (no more than three threads exposed, properly safetied with wire or clip). Torque all bolts and nuts to specification and install cotter pins where required. Perform a final operational check and record all work in the aircraft maintenance records per 14 CFR Part 43.
Why Correct Trim Tab Rigging Matters
An improperly rigged trim tab is not a minor discrepancy. If the tab is set too far in one direction at neutral, the aircraft will require constant control input to maintain attitude — fatiguing the pilot and reducing the margin of attention available for other tasks. If travel limits are exceeded, the tab can generate loads that overpower the pilot's ability to override the trim, particularly at high airspeed where aerodynamic forces are greatest. Reversed trim direction is a recognized cause of loss-of-control accidents, particularly during go-around or takeoff when pitch attitude changes rapidly and the pilot instinctively applies trim.
On aircraft with anti-servo tabs (used on all-flying tail surfaces), the rigging geometry is especially critical because the tab is rigged to increase rather than decrease control forces — intentionally making the control feel heavier to prevent overcontrol. If this system is rigged to move in the wrong direction, the stabilator becomes dangerously light and over-responsive.
Key Numbers and Rules
- Trim tab deflection direction: always opposite to the desired primary surface deflection.
- Turnbuckle safety: no more than three threads exposed beyond the barrel end after safetying, per AC 43.13-1B.
- Neutral position tolerance: typically ±1°, but always reference the specific aircraft maintenance manual.
- Travel measurement tool: use a protractor or rigging board referenced to the primary surface chord line.
- After any rigging adjustment: re-verify neutral, both travel limits, and direction of travel before returning to service.
- All trim tab work must be recorded in the aircraft maintenance record per 14 CFR Part 43, Section 43.9.
Common Test Traps
- Confusing tab direction: The FAA knowledge test frequently asks which direction the trim tab moves relative to the primary surface. Remember — the tab always moves opposite to the primary surface to create the correcting moment. Don't let the question's phrasing about cockpit input confuse you about the tab's physical direction.
- Measuring tab deflection from the wrong reference: Tab travel is always measured relative to the primary control surface, not to the aircraft's longitudinal axis or the horizon. Using the wrong datum will produce incorrect measurements.
- Skipping the direction-of-travel check: Some examinees assume that if travel limits are correct, direction must be correct. Direction must always be independently verified — a rigging error can produce correct-looking travel limits with a completely reversed system.
- Forgetting to re-safety turnbuckles: After any linkage adjustment, all turnbuckles must be re-safetied. The test may ask specifically about the thread exposure limit or the type of safetying required.
- Not referencing the maintenance manual: A common distractor answer will offer a generic trim tab adjustment procedure. The correct answer is always to consult the aircraft manufacturer's maintenance manual for specific travel limits, tolerances, and rigging procedures before beginning any work.